Pipeline management
In general, there are two categories of Michelangelo pipelines: those that leverage the standard workflows and those that depend on user-created custom workflows.
The standard workflows are a set of workflows provided and managed by Michelangelo meant to address some common use cases, such as model training (for either in-house or custom models), model prediction and evaluation, and embedding generation.
The custom workflows are completely user-defined and can be used for some exceptional use cases that are not supported by the standard workflows.
The Michelangelo team manages the tooling for building and executing the custom workflows but does not manage the workflow definitions for the custom workflows. Pipelines with both standard and custom workflows can be executed and managed in MA Studio.
What you'll learn
- The difference between standard and custom workflows
- How to create pipelines for each workflow type
- How to register and run pipelines via the CLI and UI
Workflow feature comparison
| Feature | Standard Workflow | Custom Workflow |
|---|---|---|
| MA Studio UI support | Yes | Yes |
| Triggering the pipeline via MA Studio | Yes | Yes |
Triggering the pipeline via ma CLI | Yes | Yes |
| Remote run (via Spark/Ray clusters) | Yes | Yes |
| Local run | Yes | Yes |
| Resume from previous steps | Yes | Yes |
| File sync | Yes | Yes |
| Support a mixture of Ray/Spark tasks | Yes | Yes |
| Orchestration support | Yes | Yes |
| Automatic docker building | Yes | TBD |
| Override the tasks with custom tasks | Yes | Yes |
| Pipelines defined by YAML config | Yes | Yes |
| Pipelines defined by Python scripts | No | Yes |
| Created/updated via MA Studio UI | Yes (with exceptions) | No |
Standard workflows
The standard workflows are a set of workflows provided and managed by Michelangelo meant to address some common use cases. The pipelines of these workflows are defined in a YAML format inside the pipeline_conf.yaml file.
Custom workflows
The custom workflows are fully customized Uniflow workflows.
Pipeline creation
An MA Studio project is required before creating pipelines. Please refer to Project Management for project creation.
Pipeline creation for standard workflows
Folder structure
To create a pipeline, we must create a directory under the project folder with the following structure.
<pipeline folder>
    pipeline_conf.yaml
    pipeline.yaml
pipeline.yaml
The pipeline.yaml file defines the metadata for the pipeline. This file is required to register the pipeline with MA Studio. The format of the pipeline.yaml file conforms to this protobuf.
apiVersion: michelangelo.uber.com/v2beta1
kind: Pipeline
metadata:
  namespace: my-project              # The name of the project
  name: simple-custom-train          # The name of the pipeline

spec:
  type: PIPELINE_TYPE_TRAIN
  manifest:
    path: pipeline_conf.yaml         # For standard workflows, the manifest path is always pipeline_conf.yaml
pipeline_conf.yaml
The pipeline_conf.yaml file contains the configuration for the pipeline.
Example
workflow_function: uber.ai.michelangelo.sdk.workflow.defs.tabular_train.workflow_function
workflow_config: {}
task_configs:
  tabular_feature_prep:
    config:
      source:
        dataset:
          namespace: my-project
          name: boston-housing
      split:
        ratio:
          train_ratio: 0.8
  tabular_trainer:
    config:
      custom:
        train_class: !py_import my_project.pipelines.custom.simple.lib.simple_trainer.SimpleTrainer
  tabular_assembler:
    config:
      model_class: !py_import my_project.pipelines.custom.simple.lib.simple_model.SimpleModel
  tabular_inference:
    config: {}
  evaluator:
    task_function: !py_import my_project.pipelines.custom.simple.lib.simple_evaluator.SimpleEvaluator
    config: {}
  pusher:
    config:
      items:
        - name: model
          model_plugin:
            model_kind: custom
            model_family: my-project-simple
            model_description: "test custom model"
        - name: train_inference_result
          dataset_plugin: {}
        - name: validation_inference_result
          dataset_plugin: {}
        - name: test_inference_result
          dataset_plugin: {}
Pipeline creation for custom workflows
Typical code structure
<project root>
├── config
│   └── project.yaml
├── lib
│   └── ...
├── METADATA
├── pipelines
│   └── <pipeline_name>
│       ├── pipeline.py    # The entry point for the pipeline. It imports and triggers the workflow function.
│       └── pipeline.yaml
│       └── ...
├── tasks
│   └── <task_name>
│       ├── __init__.py
│       ├── BUILD.bazel
│       └── task.py        # This contains the task function
│       └── ...
└── workflows
    └── <workflow_name>
        ├── BUILD.bazel
        └── workflow.py    # This contains the workflow function
        └── ...
Define custom workflows
The workflow function defines the execution flow. It typically invokes the tasks in a certain order. In the remote run, the workflow function is triggered in Cadence.
import michelangelo.uniflow.core as uniflow
from ... import task1
from ... import task2

@uniflow.workflow()
def workflow_name(...):
    task1(...)
    task2(...)
Define the tasks
The task function is to be executed in either Ray or Spark.
# task.py
import michelangelo.uniflow.core as uniflow
from michelangelo.uniflow.plugins.ray import RayTask

@uniflow.task(config=RayTask(... ray configs ...))
def task_name(...):
    ...
Define the pipeline
Folder structure
<pipeline folder>
    pipeline.py
    pipeline.yaml
pipeline.yaml
The pipeline.yaml file defines the metadata for the pipeline. This file is required to register the pipeline with MA Studio. The format of the pipeline.yaml file conforms to this protobuf.
Example:
apiVersion: michelangelo.uber.com/v2beta1
kind: Pipeline
metadata:
  namespace: my-project              # The name of the project
  name: simple-custom-train          # The name of the pipeline
  annotations:
    michelangelo/uniflow-image: my-project-image:latest  # The docker image used for the tasks

spec:
  type: PIPELINE_TYPE_TRAIN
  manifest:
    path: //my/project:pipeline      # The manifest path is the bazel target corresponds to the pipeline.py file
pipeline.py
The pipeline.py file triggers the workflow function with a set of parameters.
from michelangelo.uniflow import create_context
from foo.bar.workflows.my_workflow.workflow import my_workflow

if __name__ == "__main__":
    ctx = create_context()

    ctx.run(
        my_workflow,
        ...              # pass the parameters of the workflow in here
    )
Pipeline registration
The pipeline registration is required to execute the pipeline remotely through MA Studio.
Register the pipeline
ma pipeline apply -f <pipeline.yaml path>
Pipeline execution
Remote run
Run the pipeline from UI
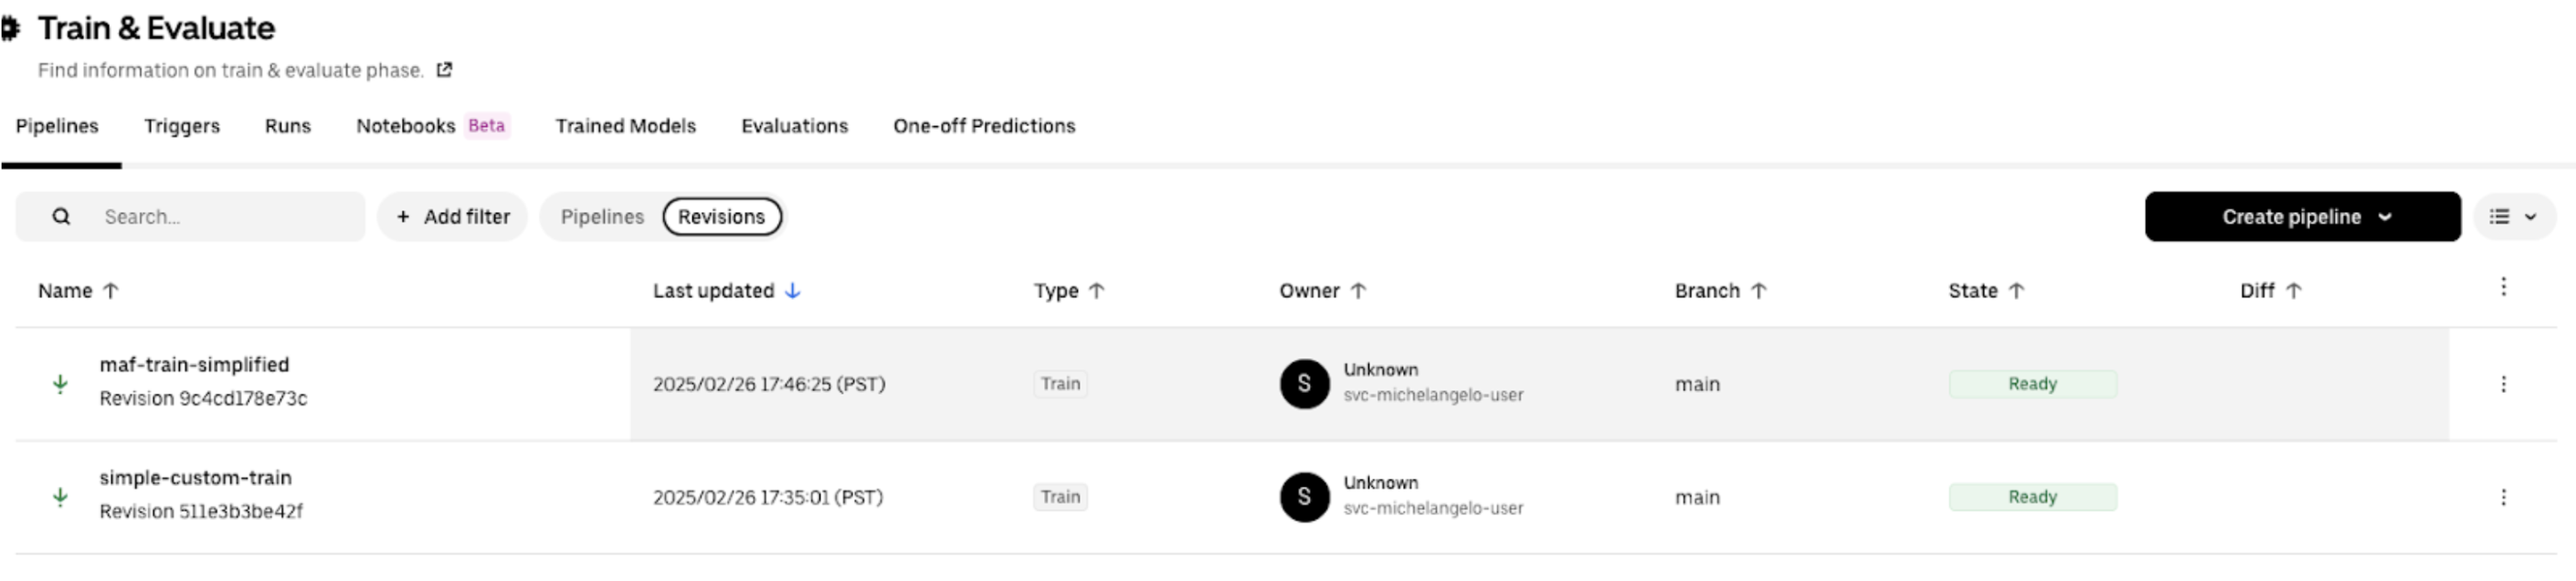
After the pipeline is registered in MA Studio, it is displayed in the pipeline list page in MA Studio.
Click into the pipeline and click the Run button.

Run the pipeline using ma
If the pipeline is registered from the main branch, a new pipeline revision is created under the main branch, and the default revision for the pipeline is updated to the new revision. Therefore, you can run the pipeline directly.
ma pipeline run --namespace=<namespace> --name=<pipeline_name>
Example
ma pipeline run --namespace=my-project --name=simple-custom-train
Run the pipeline revision using ma
If the pipeline is registered from a remote private branch, a new pipeline revision is created under the private branch, and the default revision for the pipeline is not updated. Therefore, you should run the pipeline with the revision.
ma pipeline run -n <namespace> --revision <pipeline_revision_name>
Example
ma pipeline run -n my-project --revision pipeline-simple-custom-train-511e3b3be42f